Egg Crate Foam Puppet Box…

DSC_6380 DSC_6303 DSC_6314 DSC_6348 DSC_6365 DSC_6298 DSC_6378 DSC_6421 DSC_6427 DSC_6386 
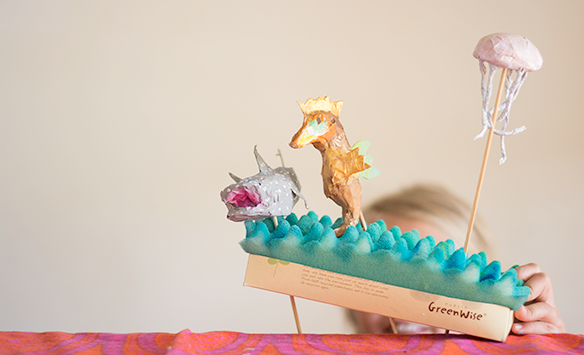
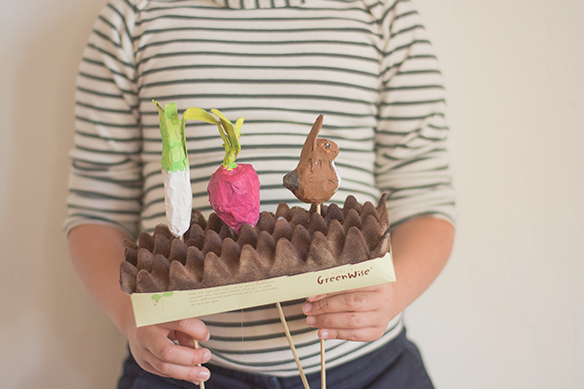
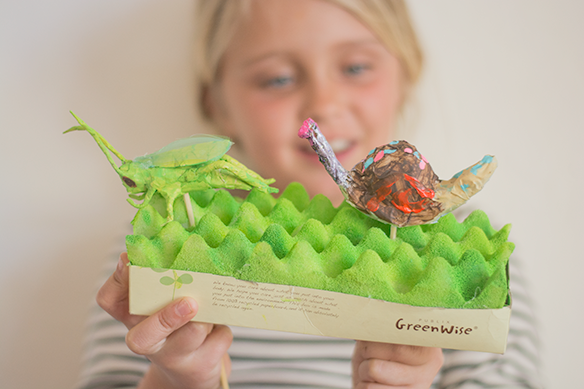
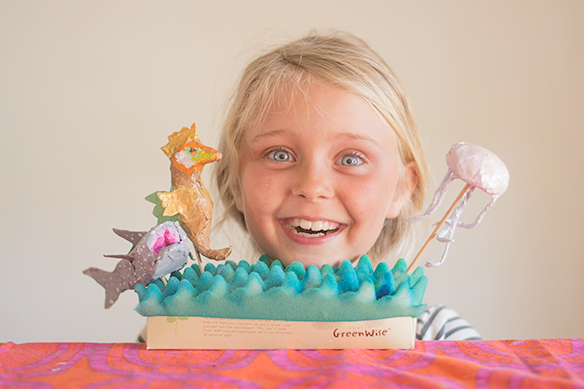
When my husband brought home some egg crate foam, I knew I wanted to use it for a project. After thinking about it for a while, I came up with these puppet boxes that use the egg crate as the base. We did an ocean puppet box, where the egg crate became the waves. We also made a meadow puppet box and the egg crate was the grass. And finally, a garden puppet box where we painted the egg crate foam brown, to make dirt. These were just a few ideas, but you could do many more!

For this project you’ll need the following supplies:

Egg crate foam
Empty cereal boxes
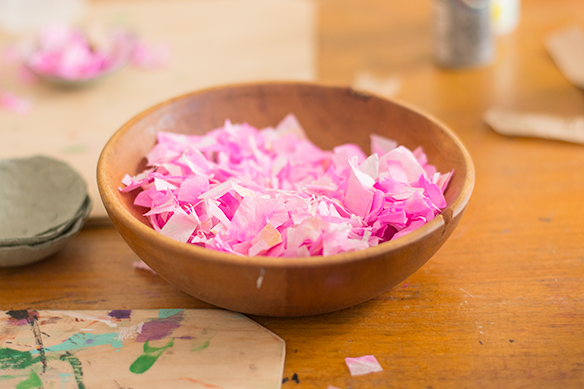
Brown paper or any recycled packing material 
Masking tape
Acrylic paints
Paintbrushes 
Bamboo skewers
Glue gun and glue

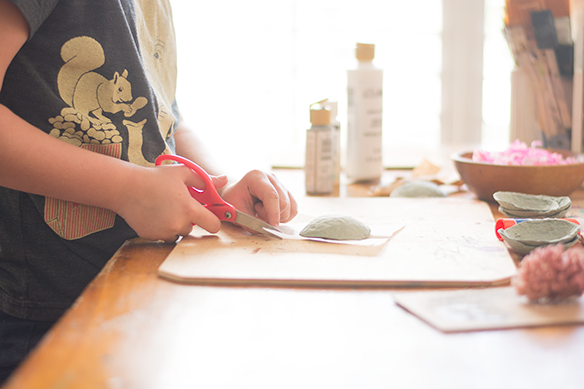
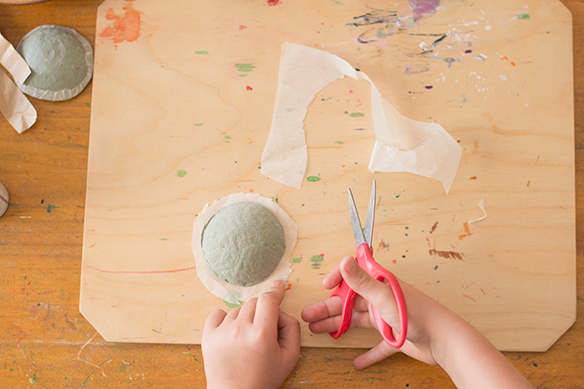
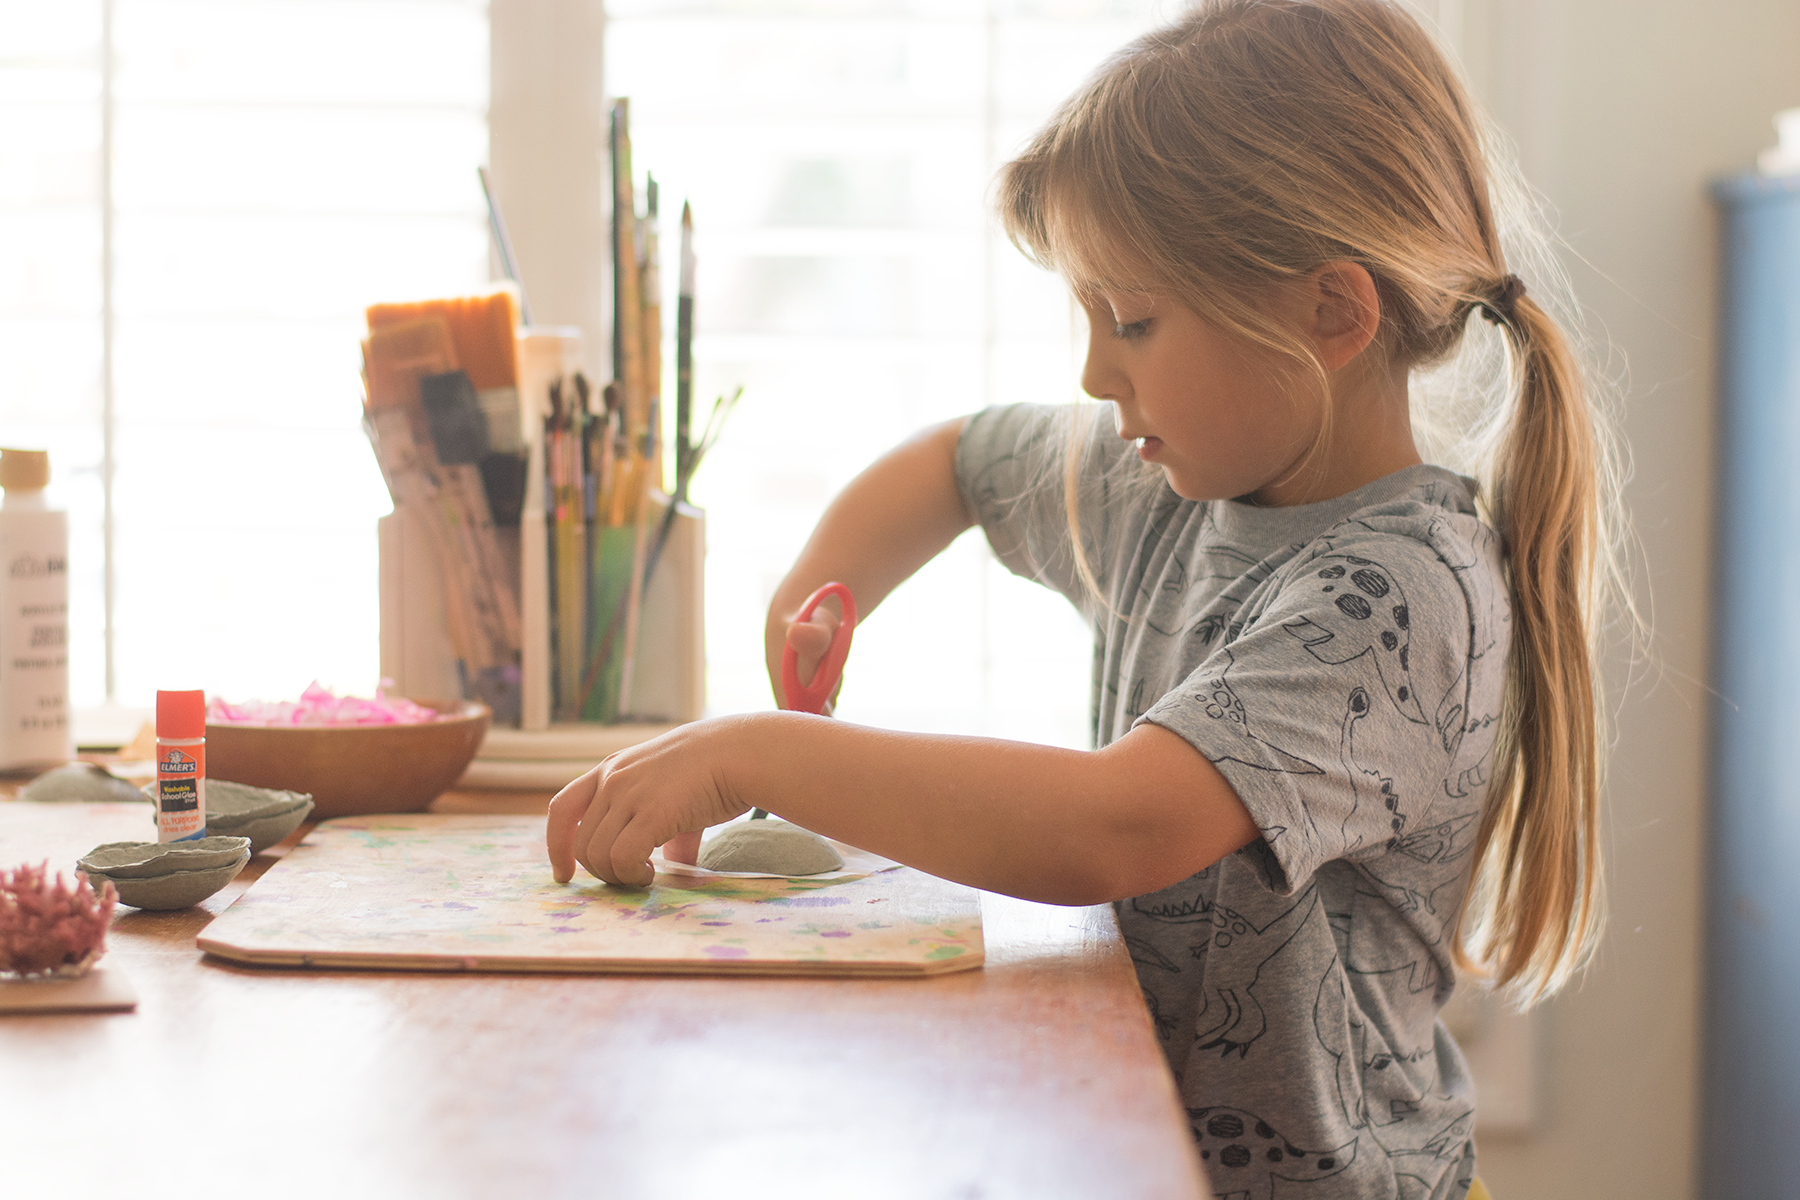
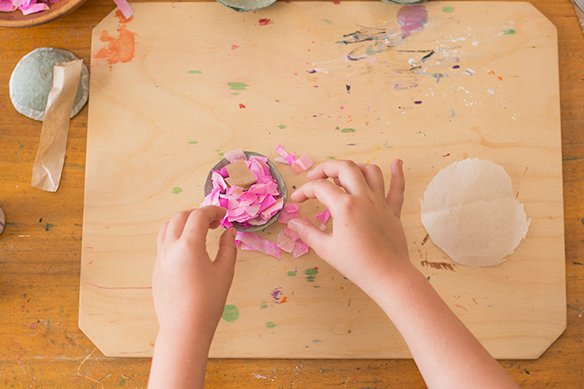
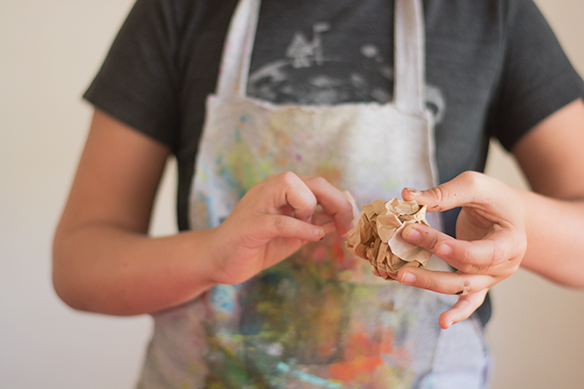
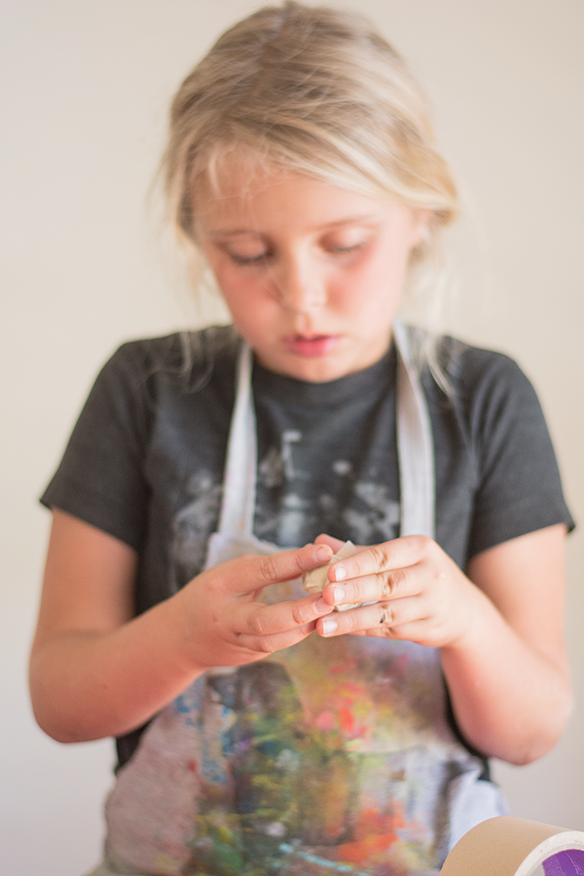
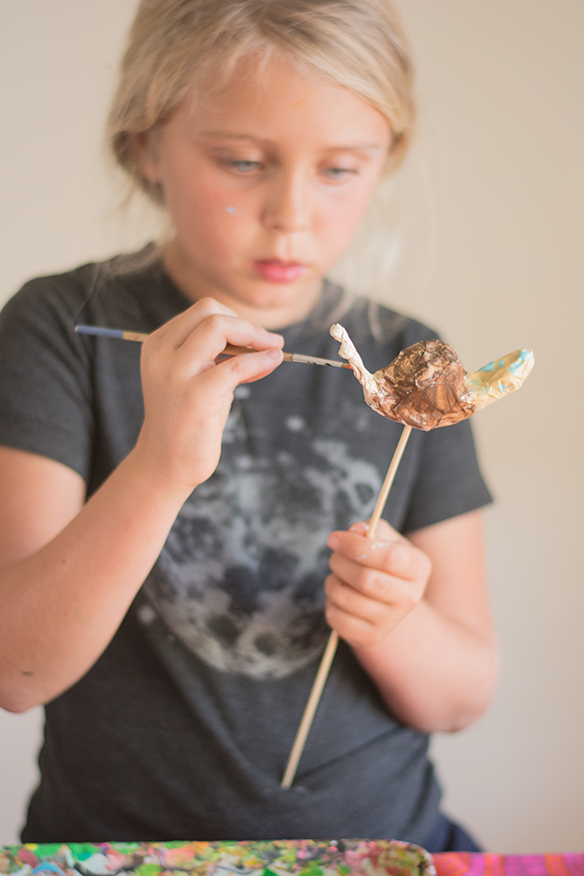
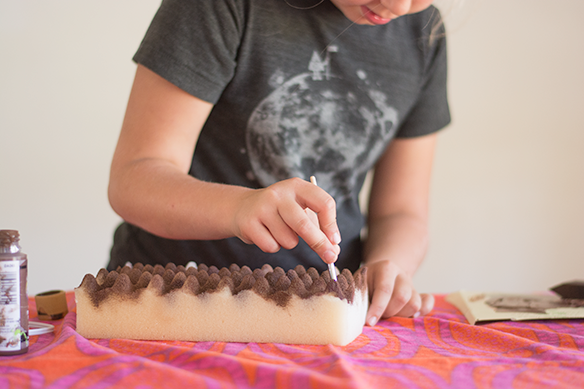
After you decide what type of puppet box you want to make, begin forming the puppets. To do this, shape your packing material and secure the form with masking tape. You can view another project where we used this technique here. Once your puppets are formed and completely covered in tape, you can begin painting. Set aside to dry and when done, insert a bamboo skewer in the bottom side of the puppet and secure with glue.

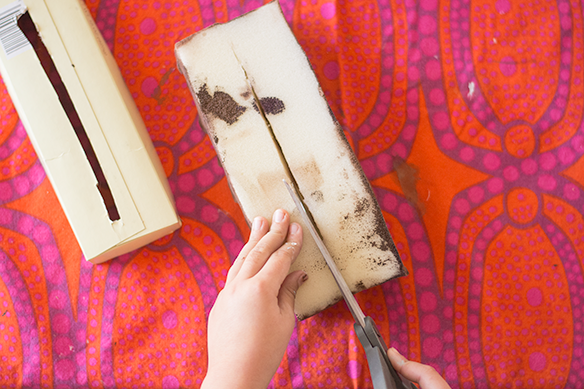
To make the puppet box, cut off the bottom of an empty cereal box. Cut a slit, lengthwise, in the middle of the box, being careful not to cut all the way to the edges. Next cut a piece of the egg crate foam, slightly bigger than the cereal box. Place it in the cereal box and trace the opening you cut in the previous step, onto the foam. Remove foam and cut on your mark. Next, paint foam and allow to dry. Once dry secure foam inside cereal box with glue, making sure not to glue the opening. Finally, insert puppets from the top, through the opening and control their movement from the bottom. 

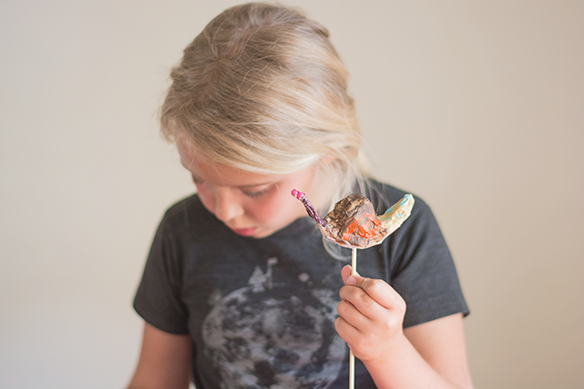
All that’s left to do is create a story and bring your puppets to life!

Rookery Bird Swamp…

DSC_6051 DSC_6006 DSC_6009 DSC_6022 DSC_6023 DSC_5999 DSC_6076 DSC_6027 DSC_6033-2 DSC_6062 DSC_6064 DSC_6075 DSC_6077 DSC_6078 Well…that was a long break! I haven’t posted since Valentine’s Day. I hadn’t intended on staying away for so long, but the longer I was away, the more I wanted to extend my blogging vacation. I’m feeling renewed, so I will be catching up on some posts. If you are subscribed to my blog, you might be getting more updates than wanted.  I always seem to get people wanting to unsubscribe whenever I make a post. It doesn’t bother me. I get it. I unsubscribe to blogs all the time. However, people usually email me direct to unsubscribe and I’m happy to do it, but I get a ton of spam, so I’m unlikely to see your request if sent by email. You can however unsubscribe by simply hitting the unsubscribe button. Anyway….

If you are ever in South Florida, the Bird Rookery Swamp is a must. Oh my gosh. Words just can’t describe the beauty of the swamp. This one in particular is amazing! It is a long hike, about 12 miles I think. We didn’t walk the entire trail, maybe about 4 miles. If you go, I suggest bringing bikes. We plan to do so on our next trip down.

There is so much to see. Birds galore, gators up close and personal, wild flowers, insects, snakes, turtles, bears, panthers and more.  With so much land development in my area, I love finding these hidden gems where I can be immersed in nature. I never wanted to leave and can’t wait to return!

Confetti Moon Valentines…

DSC_5704 DSC_5587 DSC_5596 DSC_5600 DSC_5609 DSC_5617 DSC_5647 DSC_5657 DSC_5668 DSC_5670 DSC_5681 DSC_5736 DSC_5729 DSC_5728 I had forgotten just how much goes into a tutorial blog post, but was quickly reminded when I started this one. I love looking back on all our projects. It’s like an online scrapbook. I don’t so much like all the prep and the work involved. I know it must look like I just pull out my camera and start shooting, but not so. There is a lot of prep work before I even get to that part of the process. Then there is set up, taking lots of pictures, stopping between pictures for more set up, taking more pictures…this time with paint all over my hands, up and down on a ladder, move ladder out of shot, making sure I captured all stages of the project, clean up project, download and edit photos, and finally, write a blog post. Of course, all of this had to be done while my 20 month old is napping or down for the night. Which coincidentally, doesn’t happen until about 10:30 at night. But, I really do love looking back and remembering how much fun we had, minus all the work of course.

If you have been reading my blog for a while, then you know I’m big on handmade valentines. I just love them! I feel like they add such a personal, crafted touch. Also, you might know that we love confetti! We have been making handmade confetti for a few years now and it’s still one of our favorite crafts to do. These confetti moon valentines are the perfect combination of both!

For this project you’ll need:

Apple packing boards (I’m not sure of the official name, but they use them when packing apples for shipment. Ask someone in the produce department of your local grocery store. They will know what you are talking about!)
Acrylic paints (white and gray)
Sponges (for painting) 
Glue stick
Scissors
Tissue paper
Confetti 
Paper (for writing messages)
Black cardstock
White ink pen
Envelopes

First, cut out your individual moon shapes from the apple packing boards. Trim them up as best you can, to maintain circular shape. They might be a little bit wonky, but it still works! Next, using the moon as a guide, take a small square of tissue paper and cut around the moon, leaving a 1/4 inch edge all the way around.  Write out your messages (we wrote, “To the moon and back”.) and stuff inside moon with a little confetti. Don’t overstuff or it will become difficult to seal up. Grab tissue paper you just cut and cover the confetti. While holding the paper in place, flip moon over and apply glue along the perimeter. Then, fold up edge of tissue paper on top of moon, making sure all is glued down.

Once your moon is assembled, you can begin painting. Sponge on white all over the moon, then sponge on a little gray. Try not to overdo the paint…or the colors just blend. Set aside to dry. Next prepare your cards however you like. We added a little “lift off” tab, so our recipients would know to pull moon off of card. If you want to do this, just add glue to the tab and secure to the back of the moon. Then add glue only to the back of the tab and secure it to your card. You’ll need to hold it in place for about 10 secs to get it to adhere. It won’t be a strong attachment, but enough to keep it in place. Finally, stuff your valentines inside envelopes. 

Jacks wasn’t much into this, sigh, he’s too cool now. Well, he told me he would help make them, but he wasn’t handing them out. But, Savannah and Annie were completely on board and are super excited to hand them out to their friends! Happy Valentine’s 2017!